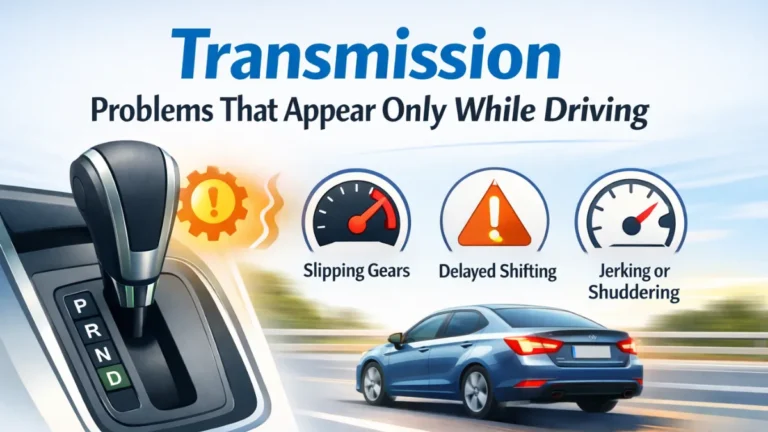
Most drivers in the United States rely on their vehicles every day without thinking much about what happens beneath the hood. That changes quickly when a transmission starts slipping, grinding, hesitating, or refusing to shift. These problems can make even short drives stressful and unsafe.
A transmission rebuild is often recommended when internal wear or damage becomes too severe for simple repairs. For many everyday car owners, the idea of a rebuild sounds mysterious or intimidating. What actually happens inside the transmission during this process? Understanding it in plain terms can help you make informed decisions and feel more confident when discussing repairs with a mechanic.
This article explains, step by step, what happens inside a transmission during a rebuild, why the problem occurs in the first place, and how the rebuilding process restores proper function.
Why Transmission Problems Happen in the First Place
A transmission is one of the hardest-working systems in a vehicle. It manages power from the engine and delivers it to the wheels at the right speed and torque. Over time, normal use takes a toll on internal parts.
Heat is a major factor. In stop-and-go traffic common in U.S. cities like Los Angeles, Chicago, or Atlanta, transmissions are constantly shifting. This creates heat that breaks down transmission fluid. Once the fluid loses its protective qualities, metal parts begin to wear faster.
Friction is another cause. Clutches and bands inside the transmission are designed to wear gradually. After years of driving, especially with heavy loads or frequent towing, that wear can reach a point where shifting becomes rough or unreliable.
Contamination also plays a role. Tiny metal particles from worn parts can circulate through the system. If they are not removed, they damage seals, valves, and bearings.
When these issues stack up, a rebuild becomes necessary to restore normal operation.
What a Transmission Rebuild Really Means
A transmission rebuild is not a quick fix or surface-level repair. It involves removing the transmission from the vehicle, completely disassembling it, inspecting every internal component, and replacing worn or damaged parts.
Unlike a simple fluid change or sensor replacement, a rebuild addresses the core mechanical systems inside the transmission. The goal is to return it as close as possible to proper working condition without replacing the entire unit.
Step One: Removing the Transmission From the Vehicle
The rebuild process begins with removing the transmission from the car or truck. This step alone can take several hours because the transmission is heavy and connected to many systems.
In a typical front-wheel-drive sedan in the U.S., this involves disconnecting the battery, axles, wiring harnesses, cooling lines, and mounting brackets. Rear-wheel-drive vehicles, such as pickup trucks or older sedans, require disconnecting the driveshaft and crossmembers.
Once removed, the transmission is drained of fluid and moved to a clean workbench.
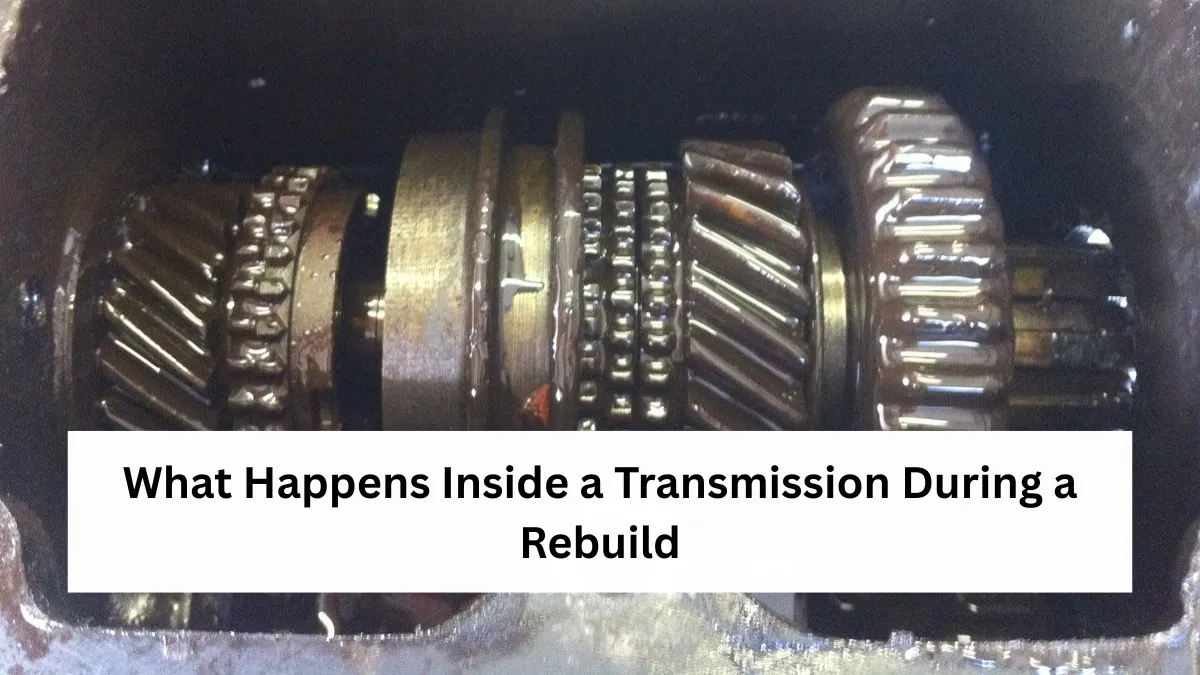
Step Two: Full Disassembly of the Transmission
After removal, the technician begins taking the transmission apart piece by piece. This is done carefully and in a specific order to avoid damaging components.
The outer case is opened first. Inside, there are dozens of parts working together, including gears, clutch packs, bands, shafts, valves, and seals. Each part is laid out methodically so nothing is misplaced.
This stage reveals the true condition of the transmission. Burned clutches, worn gears, or broken seals become visible once everything is separated.
Step Three: Detailed Inspection of Internal Components
Every internal part is inspected closely. This step determines which components can be reused and which must be replaced.
Clutch plates are checked for discoloration, cracking, or excessive wear. Steel plates are examined for warping caused by heat. Gears are inspected for chipped or worn teeth that could cause noise or slipping.
Seals and gaskets are evaluated for hardening or cracking. These parts often fail due to age and heat, even if the vehicle has relatively low mileage.
Valve bodies, which control fluid flow and shifting, are inspected for sticking valves or worn channels. This is especially important in modern automatic transmissions used in many U.S. vehicles.
Step Four: Cleaning All Reusable Parts
Once inspection is complete, reusable components are thoroughly cleaned. Old transmission fluid leaves behind varnish and debris that must be removed.
Parts are cleaned using specialized solvents designed to remove residue without damaging metal surfaces. This step is critical because even small amounts of contamination can affect performance after reassembly.
Cleaning also allows the technician to double-check for hairline cracks or hidden damage that might not have been obvious before.
Step Five: Replacing Worn and Damaged Components
After cleaning, worn parts are replaced with new or remanufactured components. This typically includes all seals, gaskets, and friction materials, regardless of their visible condition.
Clutch packs are rebuilt with new friction plates and steel plates. Bands are replaced to ensure proper engagement. Bushings and bearings are renewed to reduce vibration and noise.
In many rebuilds, updated components are used to address known weaknesses in specific transmission models common in the U.S. market. This helps improve reliability compared to the original design.
Step Six: Reassembling the Transmission Internals
Reassembly is done with precision. Clearances, torque settings, and alignment all matter at this stage.
Each internal assembly is put back together in the correct sequence. Components must fit together exactly as designed. Too much or too little clearance can lead to slipping, harsh shifts, or early failure.
New seals and gaskets are installed throughout the transmission to prevent leaks. Assembly lubricants are used to protect parts during the initial startup.
Step Seven: Rebuilding and Testing the Valve Body
The valve body is one of the most important parts of an automatic transmission. It controls how and when gears shift by directing fluid pressure.
During a rebuild, the valve body is disassembled and cleaned. Valves are checked for smooth movement, and worn springs or solenoids are replaced.
Once reassembled, the valve body is tested to ensure proper operation. This step helps prevent common post-rebuild issues like delayed shifting or erratic gear changes.
Step Eight: Final Assembly and Sealing the Case
With all internal components rebuilt and tested, the transmission case is sealed. New gaskets ensure a tight fit and help prevent future fluid leaks.
The torque converter, which transfers power from the engine to the transmission, is often replaced or rebuilt at this stage. Reusing a damaged torque converter can contaminate the rebuilt transmission, so this step is critical.
The completed transmission is now ready to be reinstalled in the vehicle.
Step Nine: Reinstalling the Transmission and Adding Fluid
The rebuilt transmission is carefully installed back into the vehicle. All mounts, connections, and lines are reattached according to factory specifications.
Fresh transmission fluid is added. The type and amount of fluid matter, especially in newer vehicles that use manufacturer-specific fluids.
Once installed, the vehicle is started and checked for leaks. The technician monitors shifting behavior and fluid levels as the transmission warms up.
Common Mistakes to Avoid After a Rebuild
One common mistake is skipping the break-in period. Even rebuilt transmissions need time to settle. Aggressive driving immediately after a rebuild can shorten its lifespan.
Ignoring fluid maintenance is another issue. Regular fluid checks and changes help protect the rebuilt components and prevent overheating.
Failing to address related problems, such as cooling system issues, can also cause premature transmission damage. A rebuild fixes internal parts, but external issues still matter.
Helpful Tips for Vehicle Owners
Asking clear questions before and after a rebuild helps avoid misunderstandings. Understanding what parts were replaced and how to care for the transmission afterward makes a difference.
Paying attention to early warning signs after a rebuild, such as unusual noises or delayed shifts, allows problems to be addressed quickly.
Keeping maintenance records can be helpful for future service and resale value, especially for commonly rebuilt vehicles like family sedans and light trucks in the U.S.
FAQ’s
How long does a transmission rebuild usually take?
In most cases, a rebuild takes several days. The exact time depends on the vehicle type, availability of parts, and the extent of internal damage.
Is a rebuilt transmission the same as a new one?
A rebuilt transmission is restored using a mix of new and reusable parts. While it is not brand new, it is designed to function properly when rebuilt correctly.
Why is a transmission rebuild expensive?
The cost reflects the labor-intensive process, specialized tools, and number of components involved. A transmission contains many precision parts that require careful handling.
Can a rebuilt transmission last a long time?
With proper maintenance and normal driving habits, a rebuilt transmission can provide many years of reliable service.
✨ You May Also Like ✨